Introduction
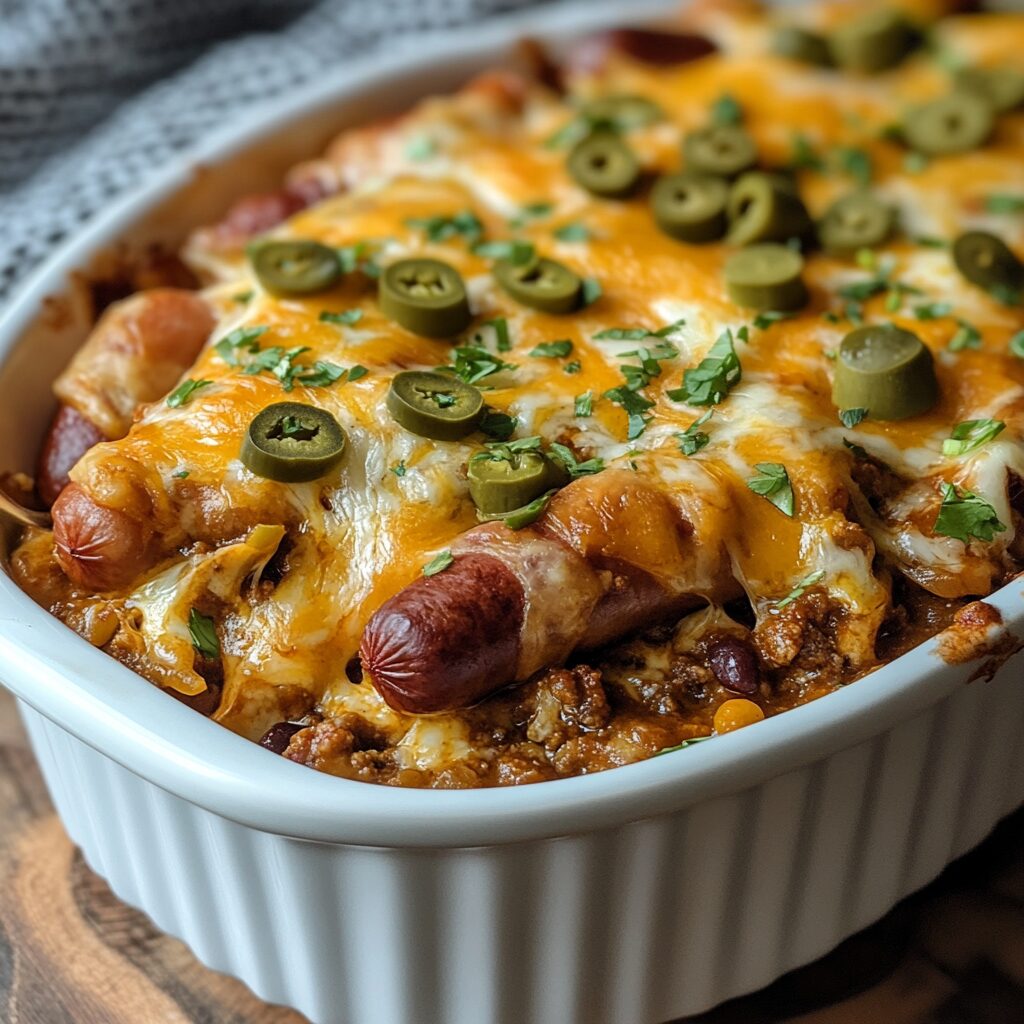
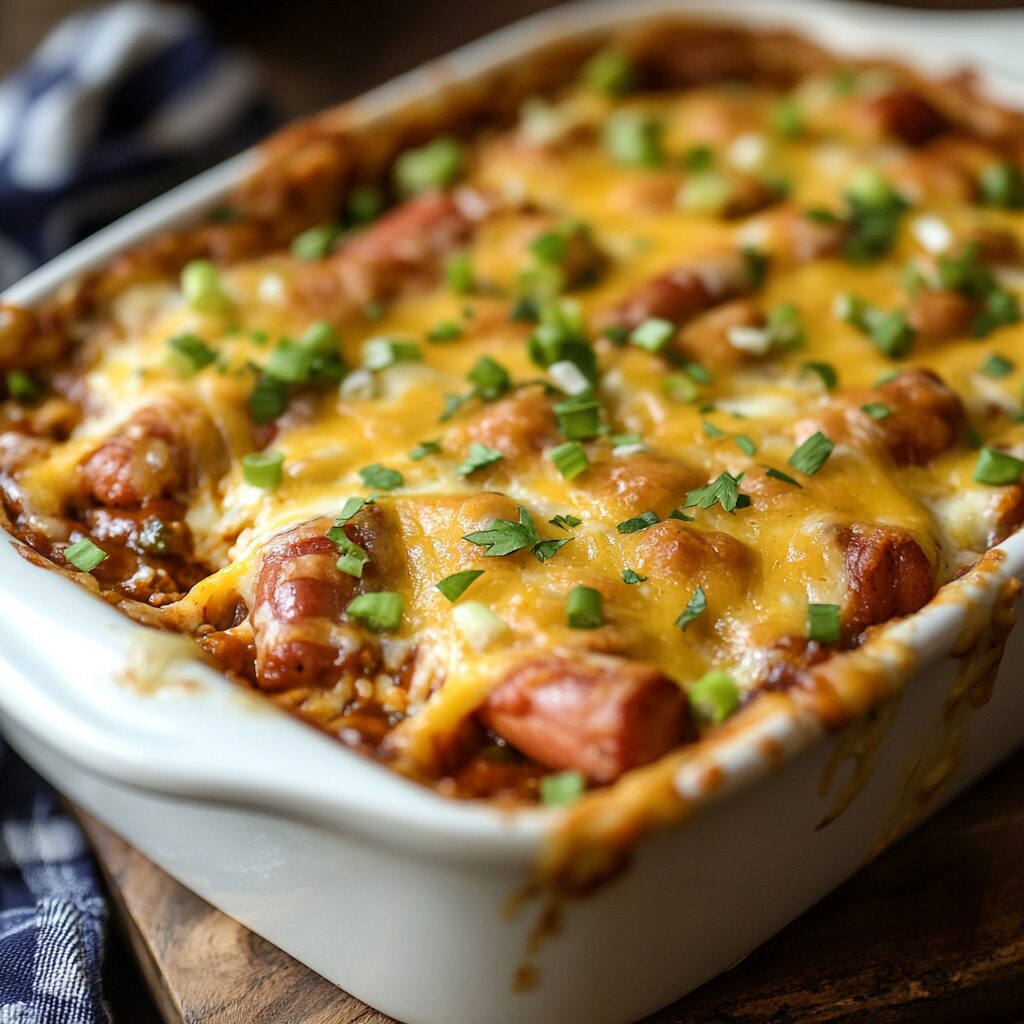
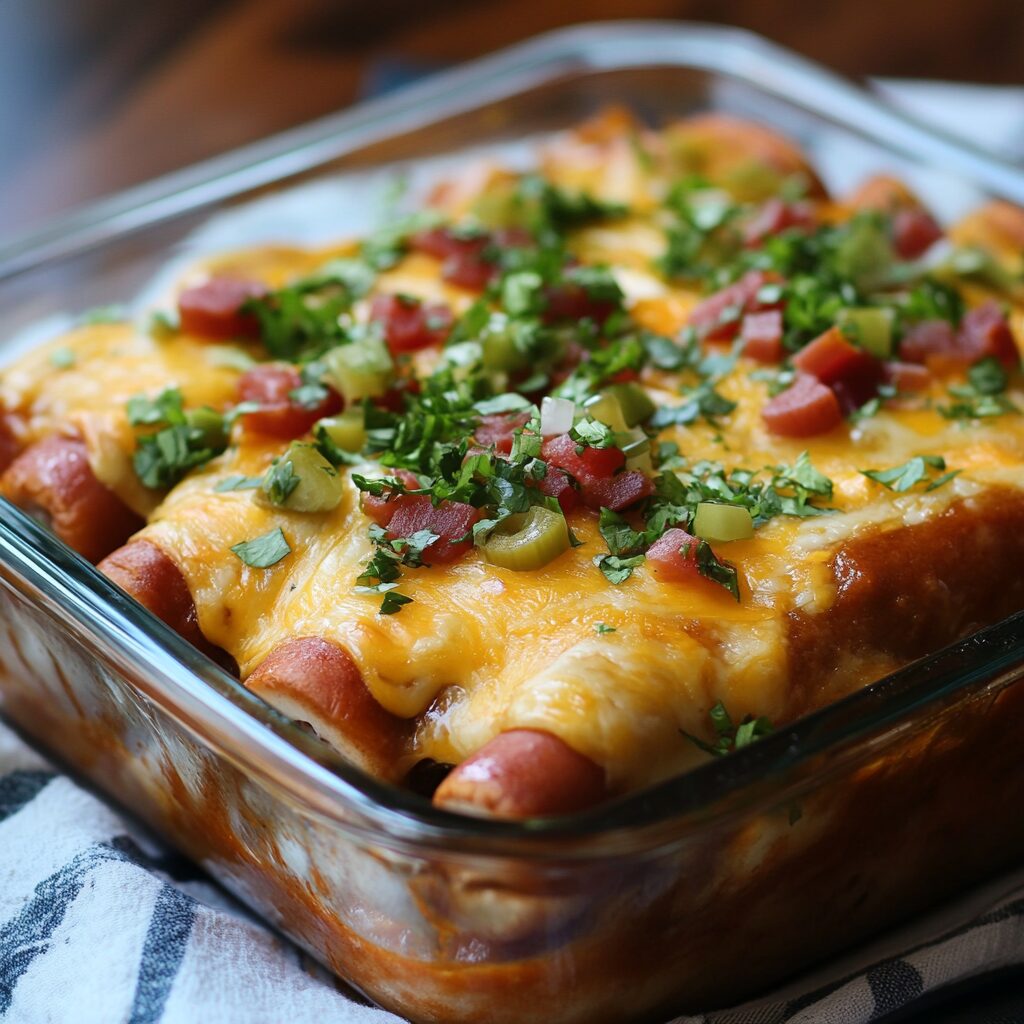
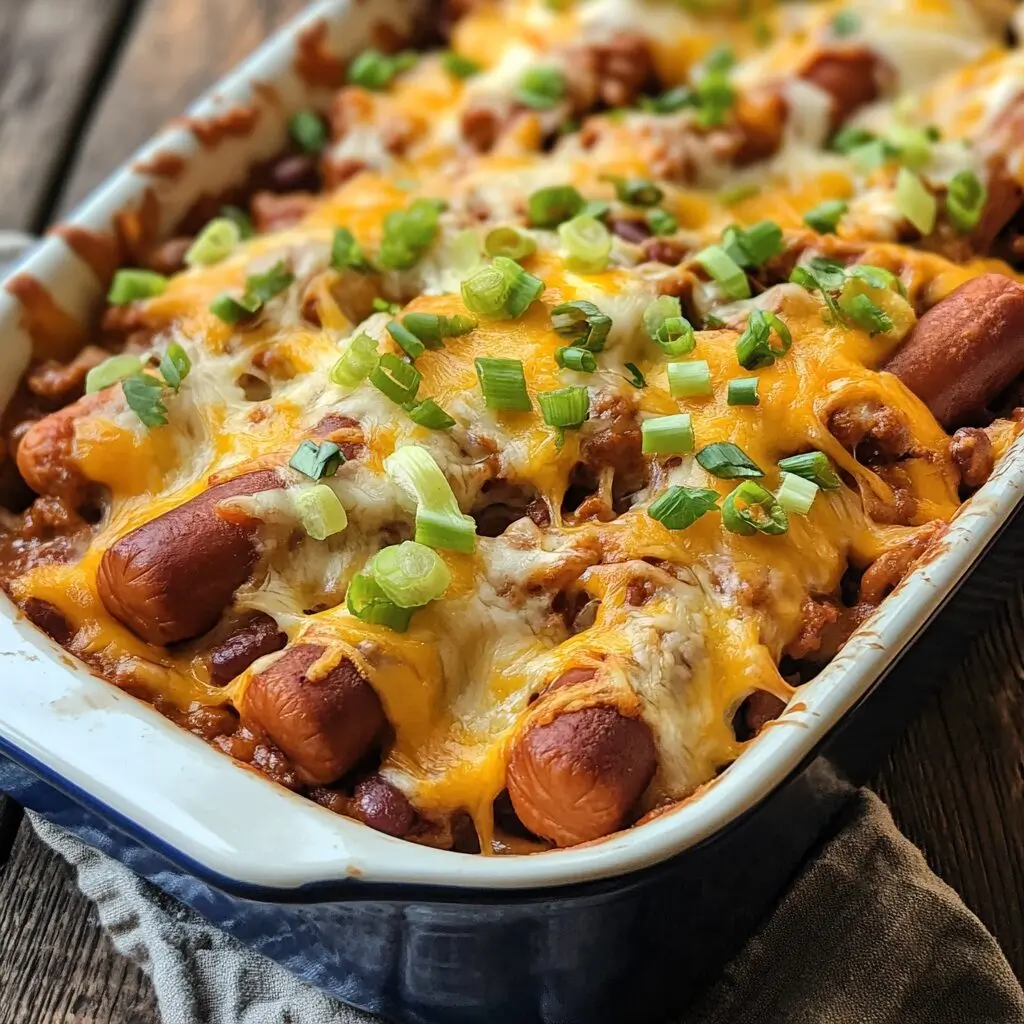
Chili Cheese Dog Casserole is the ultimate comfort food, combining the savory goodness of hot dogs, the hearty richness of chili, and the cheesy, gooey delight we all crave. Whether you’re hosting a casual game night, looking for a family-friendly dinner idea, or simply indulging in nostalgic flavors, this dish checks all the boxes. Easy to prepare and crowd-pleasing, it’s a creative twist on the classic chili cheese dog, delivered in casserole form.
This recipe layers flavors and textures with crispy bread, flavorful chili, juicy hot dogs, and a golden, bubbly cheese topping. Plus, it’s highly customizable, allowing you to adapt it to your preferences or dietary needs. Dive into this step-by-step guide to create your perfect Chili Cheese Dog Casserole.

Ingredients
Base:
- 8 hot dog buns (or similar soft bread)
- 8 beef or pork hot dogs (choose your preferred type)
- 1 can (15 oz) of chili (with or without beans, your choice)
- 1½ cups shredded cheddar cheese (divided into two portions)
- ½ cup shredded mozzarella cheese (optional for a gooey texture)
Topping:
- 1 small onion (finely diced)
- 1 small can (4 oz) of diced green chilies (optional for spice)
- 1 teaspoon garlic powder
- 1 teaspoon chili powder (optional for extra heat)
- ½ teaspoon smoked paprika
- Salt and black pepper to taste
- ½ cup crushed tortilla chips or crackers (for a crunchy topping)
Garnish:
- Chopped green onions
- Sour cream
- Sliced jalapeños (optional)
- Ketchup or mustard drizzle (for the true chili cheese dog flavor)
Instructions
Prepare the Base
- Preheat the Oven: Set your oven to 375°F (190°C). This ensures it’s at the right temperature when you’re ready to bake, saving time later.
- Arrange the Buns: If your hot dog buns are pre-sliced, separate the halves gently to avoid tearing them. Place them flat in a single layer in a 9×13-inch baking dish. If they are not pre-sliced, carefully cut them down the middle. The goal is to create a base that covers the entire bottom of the dish.
- Light Toasting: Toasting the buns prevents them from becoming soggy when layered with chili and cheese. Place the dish with buns into the preheated oven for about 5 minutes, or until they feel slightly crispy to the touch. Keep an eye on them, as they can burn quickly.
Prepare the Hot Dogs
- Select the Hot Dogs: Choose high-quality beef, pork, or plant-based hot dogs depending on your preference. Slice each hot dog in half lengthwise if you want a thinner layer or prefer faster cooking, though this step is optional.
- Arrange the Hot Dogs: Lay the hot dogs lengthwise across the toasted buns, ensuring that each bun gets a corresponding hot dog. For a neat presentation, line them up evenly. If you’re using smaller hot dogs, you might need to overlap them slightly or fit two smaller ones per bun.

Add the Chili Layer
- Open the Chili Can: If using canned chili, pour it into a mixing bowl and stir to evenly distribute the beans and meat. If you’re making your chili from scratch, ensure it’s warm and thickened before proceeding.
- Spread the Chili: Use a spoon or ladle to evenly spread the chili over the hot dogs and buns. Be generous to ensure full coverage, as this layer adds both moisture and flavor.
- Customize the Chili (Optional): If you like additional textures or flavors, consider stirring in diced onions, bell peppers, or green chilies before layering. This step allows for extra creativity with the dish.
Add the Cheese
- Cheddar Cheese Layer: Take 1 cup of shredded cheddar cheese and sprinkle it generously over the chili layer. Make sure the cheese is distributed evenly so every bite is cheesy and delicious.
- Optional Mozzarella: If you enjoy a gooier, stringier texture, mix in ½ cup of mozzarella cheese with the cheddar. This combination enhances the richness of the casserole.
- Add Seasonings: Lightly sprinkle the garlic powder, chili powder, smoked paprika, salt, and black pepper over the cheese. This step enhances the overall flavor profile and ties the layers together. Adjust the seasoning to match your spice tolerance.
Bake the Casserole
- Cover the Dish: Use aluminum foil to cover the baking dish. This helps retain moisture and ensures the casserole cooks evenly without drying out.
- First Bake: Place the covered dish in the preheated oven and bake for 20 minutes. During this time, the chili will heat through, and the cheese will begin to melt.
- Remove the Foil: Carefully take the dish out of the oven and remove the foil. This step allows the top layer of cheese to brown and bubble, creating a golden crust.
- Final Bake: Return the uncovered casserole to the oven and bake for an additional 10-15 minutes. Keep an eye on it during this time to avoid over-browning. The dish is ready when the cheese is fully melted, bubbly, and slightly crisp on the edges.

Add Crunchy Topping
- Prepare the Topping: While the casserole is finishing its second bake, crush your tortilla chips or crackers into small pieces. You can do this by placing them in a zip-top bag and gently pounding them with a rolling pin.
- Sprinkle the Topping: Once the casserole is out of the oven, immediately sprinkle the crushed chips or crackers evenly over the top. The heat from the casserole will help the topping stick.
- Optional Extra Cheese: If you’re a cheese lover, add a light sprinkle of cheese on top of the crunchy layer. Pop the casserole back in the oven for 5 minutes to toast the topping lightly and melt any added cheese.
Garnish and Serve
- Cool Slightly: Let the casserole cool for about 5-10 minutes. This resting time allows the layers to settle, making it easier to serve clean portions.
- Add Final Touches: Sprinkle chopped green onions, sliced jalapeños, or any other garnish of your choice over the top. For a classic chili cheese dog experience, drizzle ketchup or mustard lightly across the surface.
- Serve: Use a spatula to carefully lift portions from the dish. Serve hot, and don’t forget to offer sour cream or hot sauce on the side for extra flavor.
Tips
- Choose Quality Hot Dogs: The flavor of your casserole depends largely on the quality of your hot dogs. Opt for all-beef or gourmet options for the best results.
- Customize the Chili: If you prefer homemade, prepare your chili ahead of time with your favorite beans, ground beef, and spices.
- Add Veggies: Diced bell peppers or mushrooms can be sautéed and added to the chili for extra nutrients.
- Watch the Toasting: Toasting the buns before layering prevents sogginess but keep an eye on them to avoid burning.
- Adjust the Heat: Control the spice level by omitting or adding chili powder, green chilies, or jalapeños.
Storage Instructions
Refrigerator:
- Storage: Transfer any leftovers to an airtight container. Refrigerate for up to 3 days.
- Reheating: Warm in a 350°F oven for 10-15 minutes, or microwave individual portions for 1-2 minutes until heated through.
Freezer:
- Storage: This casserole freezes well. Wrap it tightly in aluminum foil and place it in a freezer-safe container. Freeze for up to 2 months.
- Reheating: Thaw in the refrigerator overnight, then reheat in the oven as instructed above.
Variations
- Vegetarian Option: Substitute the hot dogs with plant-based alternatives and use vegetarian chili.
- Gluten-Free: Use gluten-free buns and ensure your chili is free from gluten-containing ingredients.
- Cheese Choices: Try pepper jack, Colby, or Gouda for a different flavor profile.
- Bacon Lover’s Version: Sprinkle cooked, crumbled bacon on top of the cheese layer for a smoky twist.
- Tex-Mex Twist: Add black beans, corn, and a sprinkle of taco seasoning to the chili for a southwestern flair.
Nutrition Details (Per Serving)
- Calories: ~400-450 (varies based on ingredients)
- Protein: 18-20g
- Fat: 25g
- Carbohydrates: 30-35g
- Fiber: 4g
- Sugar: 6g
- Sodium: 900-1,000mg
Note: Nutrition values are approximate and depend on specific brands and portions used.
FAQ
1. Can I make this casserole ahead of time?
Yes! Assemble the casserole and store it covered in the refrigerator for up to 24 hours before baking. Add the crunchy topping right before baking to ensure it stays crisp.
2. What sides go well with this casserole?
Classic sides like coleslaw, a fresh green salad, or even baked fries complement this hearty dish perfectly.
3. Can I make this dish spicier?
Absolutely! Add extra chili powder, jalapeños, or a dash of hot sauce to the chili layer for more heat.
4. Can I use a different type of bread?
Certainly! Substitute the hot dog buns with French bread, ciabatta, or even pretzel rolls for unique textures and flavors.
5. How can I make this dish healthier?
Opt for turkey or chicken hot dogs, low-fat cheese, and whole-grain buns. You can also add more veggies to the chili to boost fiber and nutrients.
Enjoy the nostalgic, satisfying flavors of Chili Cheese Dog Casserole, and make it your own with the endless variations and toppings! Perfect for weeknight dinners, potlucks, or cozy gatherings, this dish is sure to become a family favorite.


